A crown case can slow down before the lab even starts.
The scan may look good. The impression may seem fine. The prescription may have the tooth number and shade. But if the lab has to guess about the margin, occlusion, material, stump shade, or patient expectations, the case becomes harder than it needed to be.
Many laboratories see firsthand how much difference small case details can make. A few clear notes from the dentist can help the technician avoid guesswork and keep the case moving in the right direction.
Good crown case communication with a dental lab saves time for everyone. The dentist gets fewer callbacks. The patient gets a smoother visit. The lab can work with more confidence.
How can dentists communicate better with their dental lab?
Dentists can improve crown case communication by sending a complete lab prescription, clear margin and material notes, accurate shade details, useful photos, bite information, prep concerns, and patient-specific expectations. A strong case gives the lab enough clinical context before design, contouring, staining, and finishing begin.
Start with a complete lab prescription
A good lab prescription should answer the basic case questions without forcing the technician to guess.
Include the tooth number, restoration type, material, shade, margin notes, due date, and any special instructions. For bridge cases, add pontic design and tissue expectations. For implant cases, include implant system, platform size, component details, and whether the case is screw-retained or cement-retained.
A weak prescription says:
“#8 crown, A2.”
A better prescription says:
“#8 zirconia crown. Match #9. Shade A2 body with slight incisal translucency. Photos attached with shade tab. Patient wants natural, not bright.”
That second note gives the technician a much better target.
Send shade information the lab can actually use
Shade communication causes many avoidable problems, especially with anterior crowns.
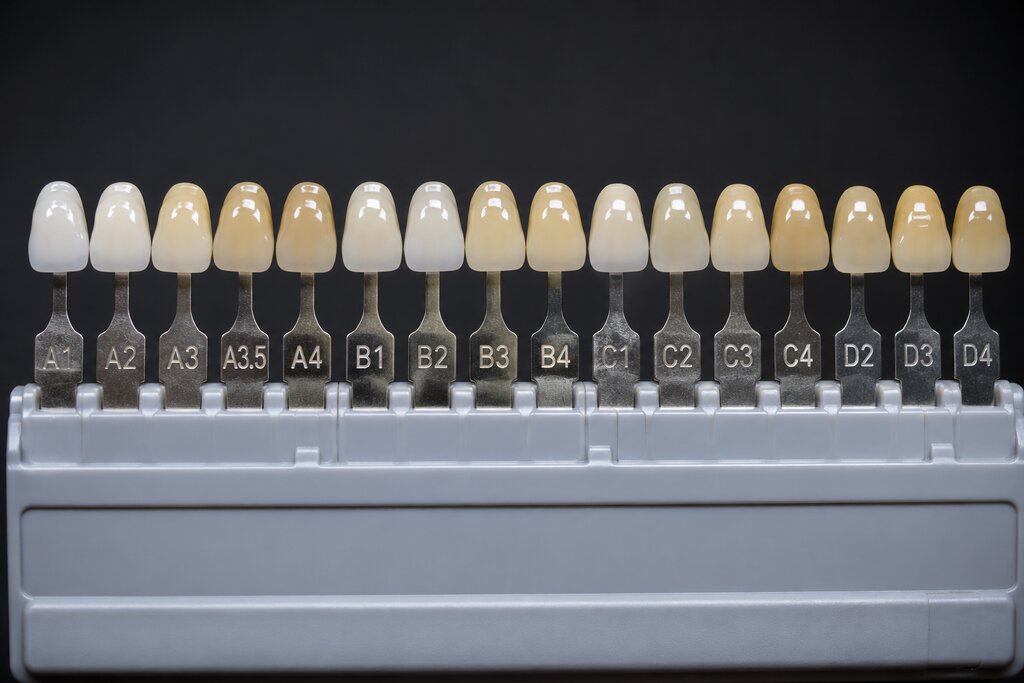
One shade number rarely tells the whole story. Natural teeth have zones. The cervical third may be warmer. The body may be one shade. The incisal edge may have translucency, halo, small white marks, or surface texture.
For anterior cases, send photos with the shade tab in the same plane as the tooth. Keep the label on the shade tab visible. Use neutral lighting when possible. Avoid strong operatory light washing out the color.
Useful shade photos include:
1. Full-face smile photo
2. Retracted smile photo
3. Close-up with shade tab
4. Prep shade photo
5. Lateral view for contour and incisal edge
6. Photo of the temporary if the patient likes the shape
If the tooth has a dark prep or old post, tell the lab. Stump shade can affect the final result, especially with more translucent materials.
Give the lab clinical context
Technicians can see the model, scan, or impression. They cannot see the patient unless you send that information.
If the patient has a heavy bite, say so. If there is limited clearance, say so. If the patient is particular about shape, say so. If the adjacent crown is slightly rotated or over-contoured, say so.
These notes help the lab make better choices.
Good examples:
“Patient has heavy occlusion on the right side. Please check functional contacts carefully.”
“Limited occlusal clearance on #30. Please advise if zirconia thickness is a concern.”
“Patient likes the temporary shape. Photos attached.”
“Food packing issue between #18 and #19 before prep. Please keep contact firm.”
These small notes often give the technician the missing piece of the case. The restoration still depends on the prep, bite, scan, impression, and material, but better notes reduce guessing.
Check margin clarity before sending
A clean margin makes a case easier for the lab. A hidden margin slows it down.
For digital scans, check the margin area before submitting. Look for missing data, blood, tissue covering the finish line, or rough scan stitching around the prep.
For traditional impressions, check for pulls, bubbles, voids, moisture, and tray distortion. If the margin is unclear in the impression, the lab will struggle to create a precise fit.
If the case has deep margins or tissue challenges, add a note. The lab may still be able to work with the case, but the technician should know where to look carefully.
Send the right bite and opposing information
Occlusion can make or break a crown case.
A crown that looks great on the model can still need adjustment if the bite record is off or if the lab does not know the patient’s functional pattern.
Send a clean bite record and the opposing arch. For digital cases, check that the bite scan seats correctly. For physical cases, make sure the bite registration is stable and not too thick.
Tell the lab about bruxism, wear facets, crossbite, implants, opposing zirconia, partial dentures, or any area where the bite feels unusual.
A short occlusion note can save a long adjustment appointment.
Communicate early on complex cases
Some cases need a lab conversation before the final scan or impression.
Anterior esthetic cases, implant restorations, multiple units, bruxer cases, and limited-clearance cases all benefit from early communication.
Before sending the final case, ask:
1. Is this material a good choice for the space?
2. Do you need a stump shade?
3. Are these photos enough for shade matching?
4. Should we plan a custom shade visit?
5. Do you need a diagnostic wax-up or reduction guide?
Early questions are faster than remakes.
Use a simple crown case checklist
Before sending your next crown case, check:
1. Tooth number is correct
2. Material is selected
3. Shade is clear
4. Stump shade is included when needed
5. Photos are attached for esthetic cases
6. Margin is readable
7. Bite record is accurate
8. Opposing arch is included
9. Occlusion concerns are written
10. Patient expectations are explained
This checklist takes less than 2 minutes. It can save days.
Further reading
For more professional context, dentists may find these resources useful:
Final thought
Strong crown case communication starts before the case reaches the lab.
A clearer prescription, better photos, accurate bite records, and a few clinical notes give the technician what they need to do better work. From my experience, the best cases usually come from simple, clear communication between the dentist and the technician before production starts.